Tuesday, February 22, 2011

Hooded Bath Towel

My wonderful sister-in-law taught me how to make these fabulous hooded bath towels.  I have made them for my children and quite often for baby shower gifts.  They are fun and easy!
You will need - 
a full size towel
a hand towel the same color as the big towel
ribbon  - if you want to, not required 
thread to match towel

Ok so to start you will need to cut the hand towel in half.  You will only need half of it for one towel so I buy two of the same big towels and have one for the next time I need one.
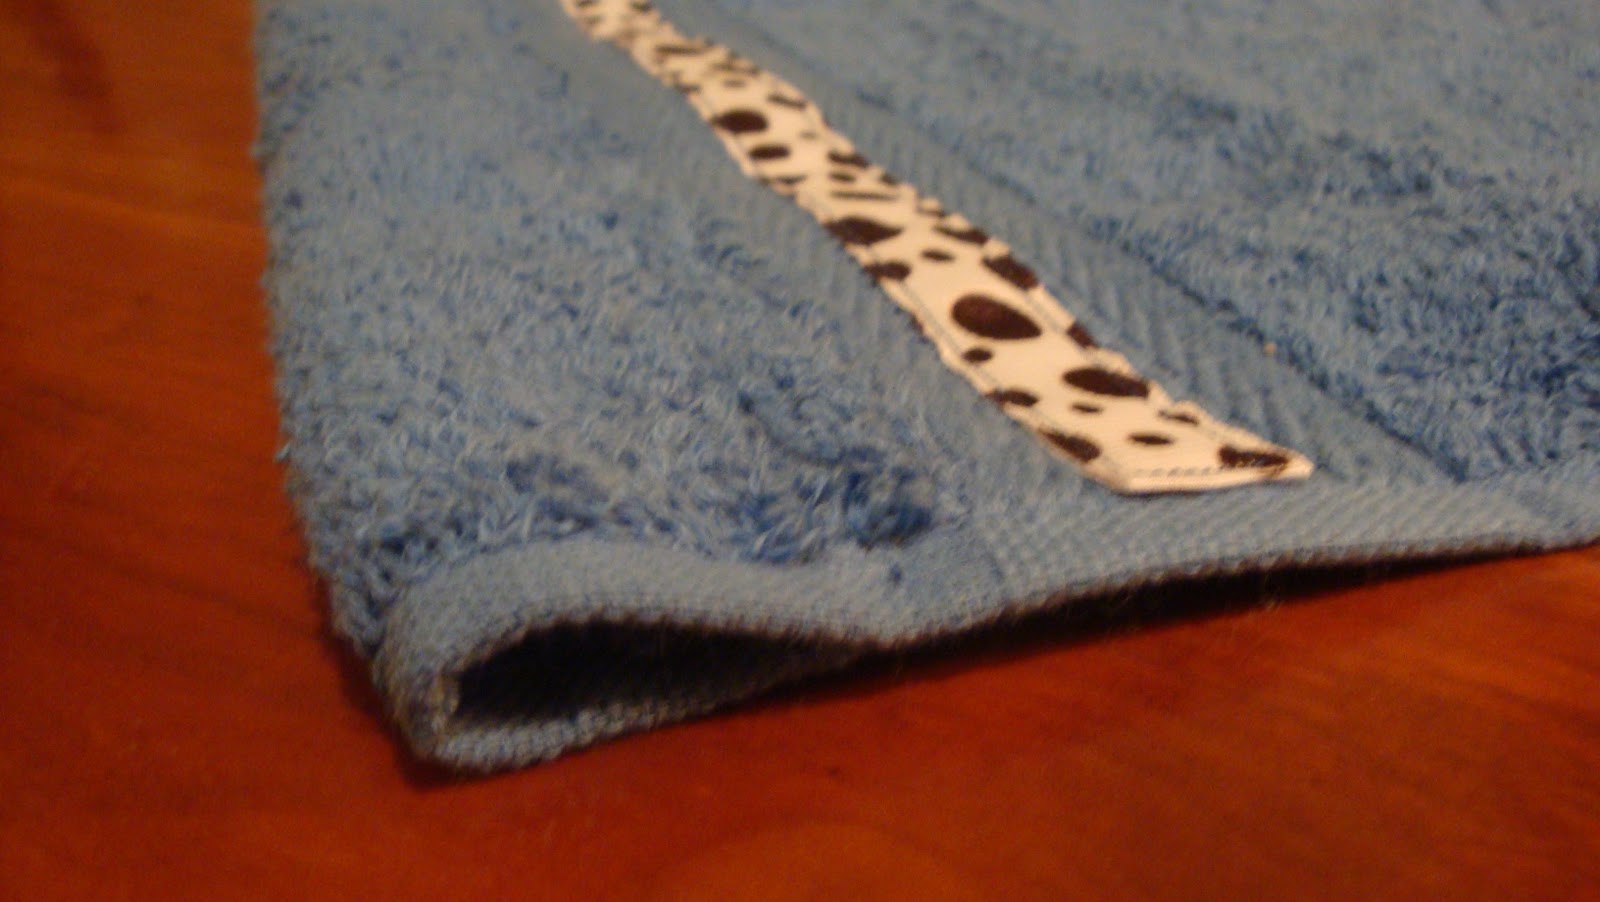
Next I cut ribbon to the length needed to go across the hand towel.  You can have it wrap under the towel but it is hard to stitch it at the edges so I just turn it under on the front close tot he sides.  The edges will be covered when it is all done.  Sew the ribbon on, it is up to you where you put it on the towel.  I have used satin ribbon before and that is a lot harder to control, I prefer grosgrain ribbon.  I really like the look on 2 inch ribbon but only had on inch for this towel.  
Then I fold the finished edge of the hand towel under and sew along this edge.  You want to make sure that it doesn't overlap your ribbon so you don't have a stitch going through your cute ribbon.

Now fold the hand towel part in half so the ribbon is facing each other.  You are going to sew down the back, the cut part, of the hand towel.  Where you sew this will affect how deep the "hood" of your towel is.  You can adjust this to fit your child.  I usually sew in about an inch and a half from the cut edge.  This can vary depending on how long your hand towel was to start with.
Can you see my stitch?  After it is sewn I cut off the top corner so it will turn under nicely.
Tah Dah...the "hood".
Now to attach it to the towel.  Find the middle of the towel and lay the hood open to find it's middle.
Pin the two pieces together like so.
It should look like this when pinned.  Sew them together.  This is hard because of the thickness so have a strong needle.  I have broken several by not having strong ones.
The completed towel.  
I hope you understood this tutorial and I hope you try to make a hooded towel.  
They really are a lot of fun to make.

Friday, February 11, 2011

Valentine coupon book

I hope none of you are deceived by the post title.  This will not be a post about a place to find great coupons for your Valentine's dinner with the hubby.  Sorry.  But it's still a great idea, keep reading!

I was trying to think of what to get the kiddos that wasn't sugar or a stuffed animal (EVIL!) and came up with this idea.


They're little booklets with coupons.  Cute, right?!  I printed the coupons & their names on the computer, cut them out with fun scissors that I forgot I had & glued them to cardstock.  The hearts are puffy sparkly stickers & then tied them with ribbon.  So super easy!


The coupons are all different but include; a dessert date with Dad, game time with Mom or Dad, running an errand with Mom & getting a treat, staying up late, getting a free room cleaning from Mom, manicures (for the girls) & reading your favorite books with Dad or Mom (for the boys), 10 hugs & 10 "tootie" kisses, etc.  I did 8 coupons for each book/child but you can do more or less.  Obviously the idea of homemade coupon books is not a new concept.  They are usually made by the kids & given to the parents but what better way to show them service than by example?! 

You only have a few more days left so get a move on & have fun with it!

Tuesday, February 1, 2011

Yummy Nutritious Protein Balls

My friend, Sara, recently shared this recipe for protein balls with me and now my kids love to eat them! It is always hard to find something good for my gluten free kids to take in their lunches. This was a great solution to getting some protein in them. It is also a great after school snack! I can make a batch and keep them in the fridge for the week.


Here is the recipe for these healthy treats...

Protein Balls
1 cup protein powder - you can use vanilla or chocolate I used vanilla
1 cup honey
1 cup natural peanut butter - I didn't have natural so I used JIF I know bad!
Mix these three ingredients in a large bowl.
Then add
1 cup oatmeal ground - I buzzed it in my food processor
1 cup ground almonds -again zipped them in the food processor until almost a flour texture
1/2 cup mini chocolate chips
You can also add a little ground flax seed - don't add too much it makes them too dry - I added 2 T.
Mix it well, it might seem like it won't all come together but keep mixing.
When it is all mixed shape into balls and place on cookie sheet covered in wax paper.  Refrigerate until hard and then place in covered container.  Store in fridge.

Hope you try them and enjoy them.  I first sold them to my kids as cookie dough balls and after they liked them we now call them protein balls.  They really do taste like cookie dough.  My pickiest eater likes them the most.