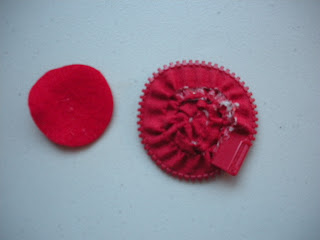
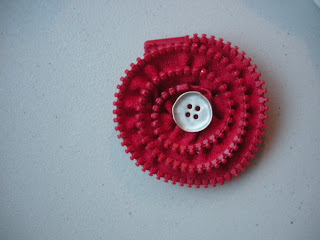
I saw these adorable zipper flowers here. Obvisouly I had to give them a try......
I opted for a 19" red zipper with plastic teeth (instead of metal)
Separate the zipper into two pieces. I did a gathering stitch with my machine opposite the zipper as close to the edge as possible.
I then gathered it & started forming a flower. I hot glued as I went.
Since the back didn't look so pretty (hard to see in this horrible pic!) I cut out a round piece of matching felt & glued that to the back.
I do think I like the "pop" of the metal zipper though. Hmmmmm, maybe for the next ones.
My indecision was in the button for the middle; clear, silver, red......
So I decided on the red. Jill thought it looked 80's & liked the clear button & my 10 year old liked the clear too. This cute red zipper flower currently has a clear button. Oh how I wish I had my mother's button box. I love that button box! Although I think the flower would still have an undecided middle.
Jill tried this too & added little leaves, super cute! C'mon Jill put your pic up!
Ok here you go...my version of the zipper flower.
I did my stitch by hand and then gathered. I stitched about half way between the zipper and the edge, which caused there to be less space between the zipper once gathered, did that make sense? I also only used a 9 inch zipper.
Sorry I forgot to take pictures as I went!
I cut a leaf shape out of green ribbon and burned the edges to keep them from fraying.
I want to try it the way Kara did it and see how it looks. I will post more pictures when I get it done!
You really should try this out it is quite fun and my 10 year old daughter LOVES to wear it!


No comments:
Post a Comment